 |
|
 |
This and the next picture should look familiar ... the Tender
Wheels started out the same way. I used a big chunk of 12L14, some
builders use 303 Stainless or Cast Iron. Since I have the G Code I can
always change material if needed.
|
|
Using
my new lathe auto cross feed is really nice! Still have to fit my tool
post, but so far this is working fine. |
 |
|
 |
This is a copy of
page 1 (of 15) of the final version, however, I decided that the spot
drill depth needed to be increased .05" and RPMs of the reamer slowed
down a bit. The final version has 750 lines written ... without the use
of a CAM program, I did use a lot of Copy and Paste commands.
|
|
The control panel of the Haas
CNC, very nice layout. I used 7 tools: spot drill, 2 reamers and 2
drills, two end mills (a Ball HSS and a 1/8" coated carbide. I decided
to use the ball end mill because it looked very nice to have a 1/16"
radius around the hub, counter weight and the top of the spokes.
|
 |
|
 |
| These
disk are nearly ready for the CNC, but later on I re-machined them so
that their thickness would be much closer together. As it turned out all
were 0.443" +- 0.002". Individually they were all within 0.001" on the
edges and center. |
|
My first programs were
written just to make the center hub and the outline of the counter
weight and tread. As you can see I started with a 1/2" thick wood ...
much safer. The cutout on the left (actually my 4th), there is something
wrong with the lower portion of the hub. It turned out that my "I' and
"J" components of the G02 code were wrong. The center one is correct.
The 3rd has the 1/8" cutout for the spokes ... well ... it seems that I
have wayward arc!
|
 |
|
 |
|
Finally I'm ready for the next step ... machinable wax. Notice that I'm
using soft jaws to hold the disk. That's so all centering is only done
once. It was easy to make ... just a aluminum jaws with a cut out for
the disk. |
|
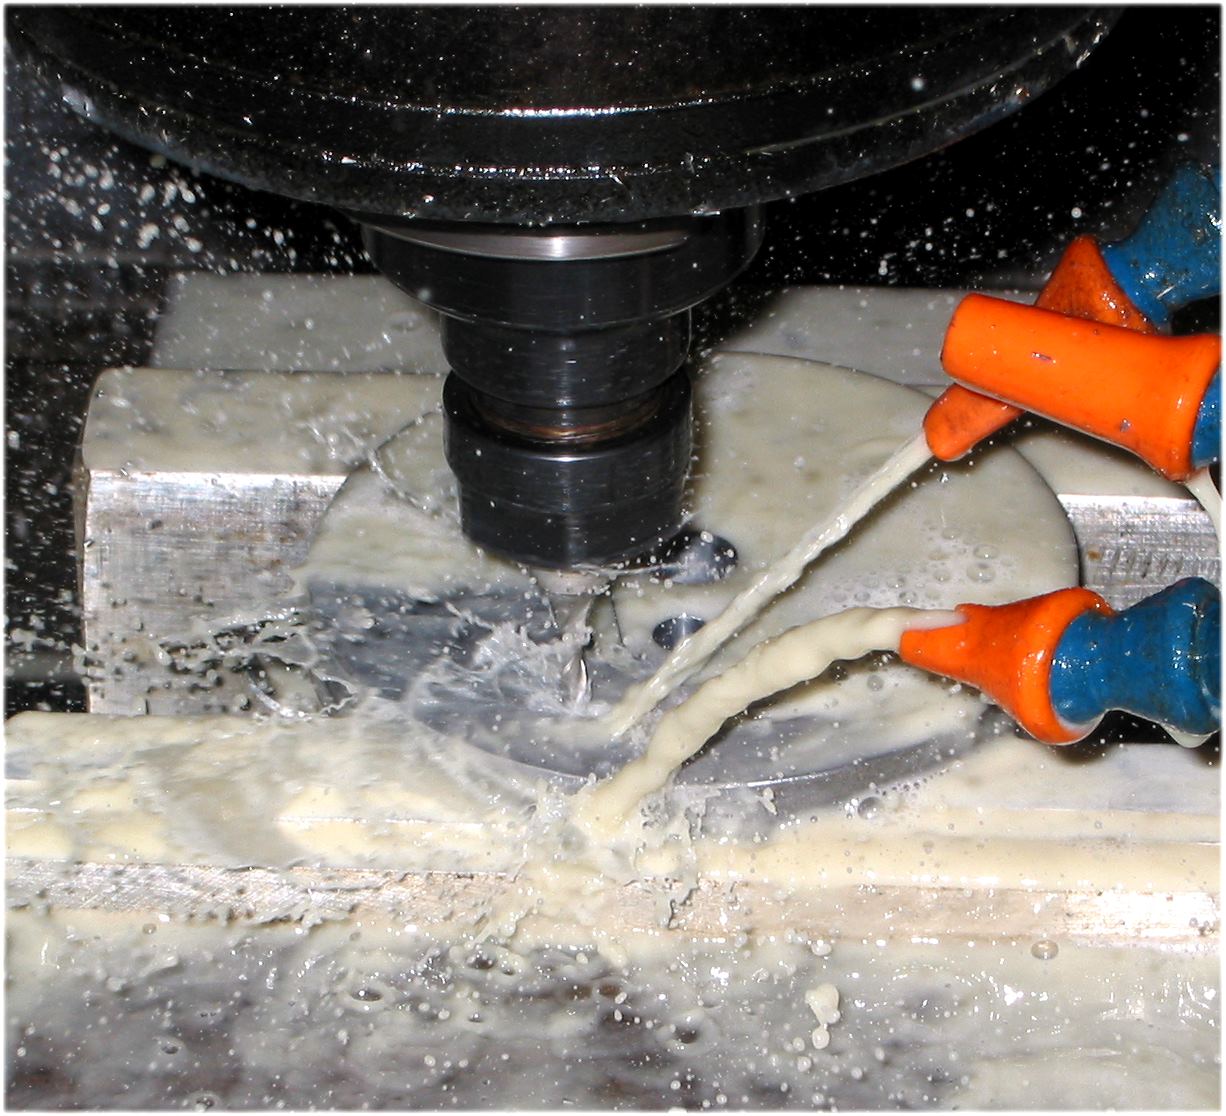
Now the real stuff. My 1st
attempt ... broke 2 end mills. After reviewing the program I realized I
was removing too much material at one time when cutting the pockets out.
|
 |
|
 |
Done ... in about 20 minutes for each disk.
Since I was using two different types of end mills, the speeds and feeds
for each one was very different.
1/8" HSS 2 flute ball: 4000 RPMs; feed 5"/min.
1/8" 4 flute Carbide: 7600 RPMs; feed 20"/min
|
|
Finished product ... one of the 6
(actually 7 counting the damaged one ). I could have increased the feed,
but since I was successful at 20"/min I didn't want to push it. After
all this is not production!
My next step is to place the disks on an arbor and machine the tread,
flange and then the 1/16" recessed area. Then round the spokes ... just
a little.
|
Update 1/06/10
|
Some progress has been made
on the drivers, since most of the machining are similar the the Tender
Wheels I won't show the details. The main tasks accomplished: Machining
the rest of the wheels, Axles, Eccentrics, Crankpins and Side Rod Pin.
|
 |
|
 |
| This
photo should look familiar ... the same basic machining sequence as I
did for the Tender Wheels. The arbor is turned down for a tight axle fit
and is not removed. Here I'm using a small thread tool for outlining the
groove. |
|
One of the Eccentrics ...
just about ready to part it off. I used SS303 for rust control and it's
easy to machine. |
 |
|
 |
This
piece is the beginning of the Side Rod Pin. An .018" wide groove is made
for an E-clip. Once this is done the rest of the pin can be machined
without worrying about bending the pin. I was very pleased with the
final part. See photo on right.
|
|
Shown above are most of
the wheel parts. A slight yellow look is due to all the oil on them.
Still have to clean up the wheels using a Dremel tool to round the
spokes and remove the machining marks. Then they should be ready for the
quartering procedure. |
The next update will be
about the quartering procedure ... should be fun!
Update 8/31/2010
The Drivers are now complete ... !
(Actually about 5 months ago ...) |
| |
|
|
 |
|
 |
|
Decided to prime and paint before quartering, used Sherwin Williams Self
Etching GBP 988 . I like it ... dries fast leaves a nice smooth texture
... ready for paint! |
|
Gave it two coats of paint
... came out really nice. We will see how durable it is as time goes by. |
 |
|
 |
This is my polishing fixture,
although you can't see it there are pins holding the driver in place.
The finish was done using 1200 paper but I didn't like the bright shine
so I redid the surface using 380 ... gives it a brush look. Much better.
|
|
Now
for quartering. As you can see I used Loctite 680 .... the green stuff.
Note: Be careful when quartering the
second set of drivers ... they must be the same as the 1st set. I was
lucky, I noticed a problem before the Loctite dried. |
 |
|
%20asm_small.JPG) |
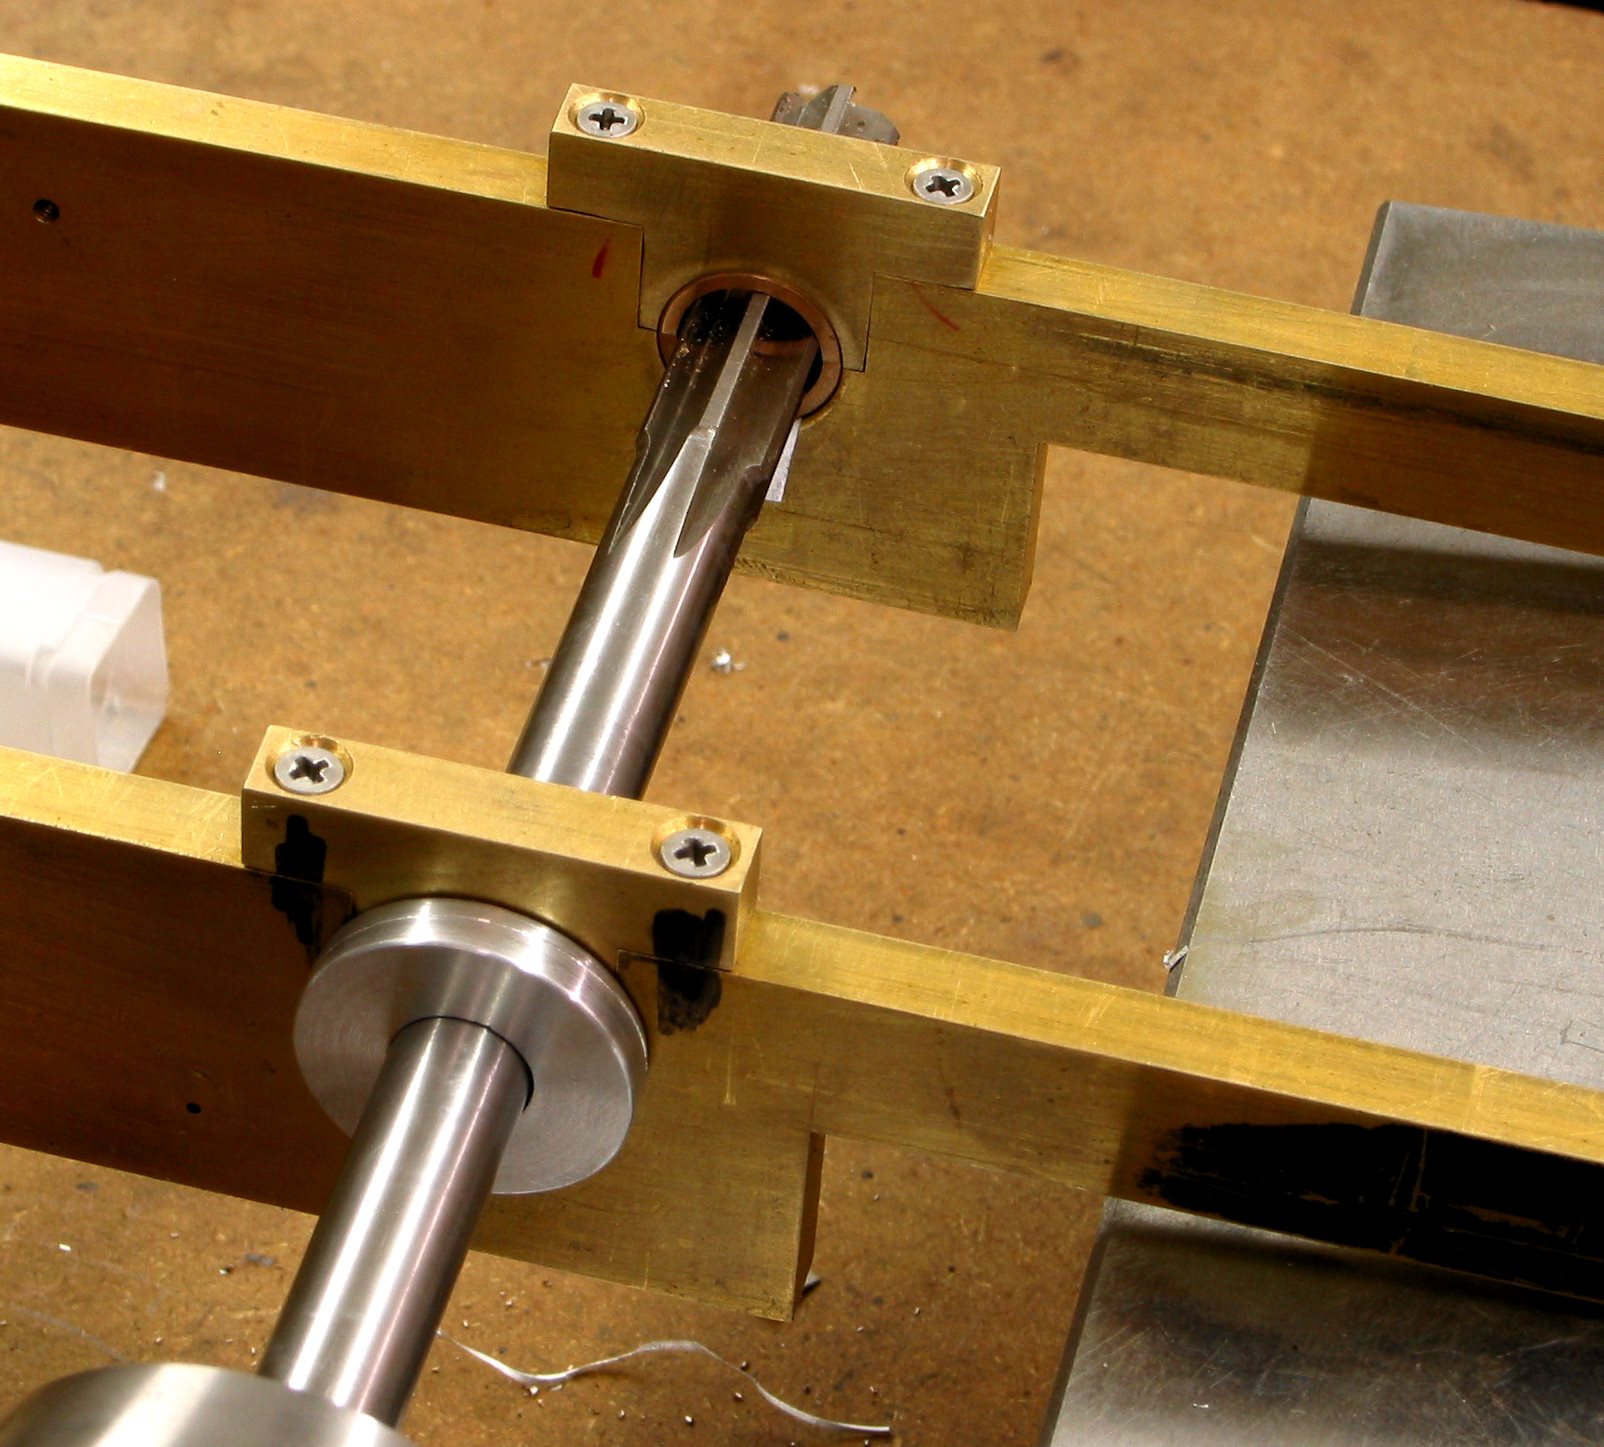
Now that the driver have axles I'm
ready to see how they fit in the bearings. As expected they needed a
little re-reaming to loosen them up a bit. Notice the little piece of
paper. To keep things lined up I used a aluminum bearing then hand
turned the chuck. Still needs a little work but I will wait for the side
rods installation to fine tune them.
|
|
Here is the CAD image ...
soon I will have lots of assemblies to make a big image!
|


%20asm.JPG)